Requirements
•Paid access to the oauth2 component
OAuthComponent
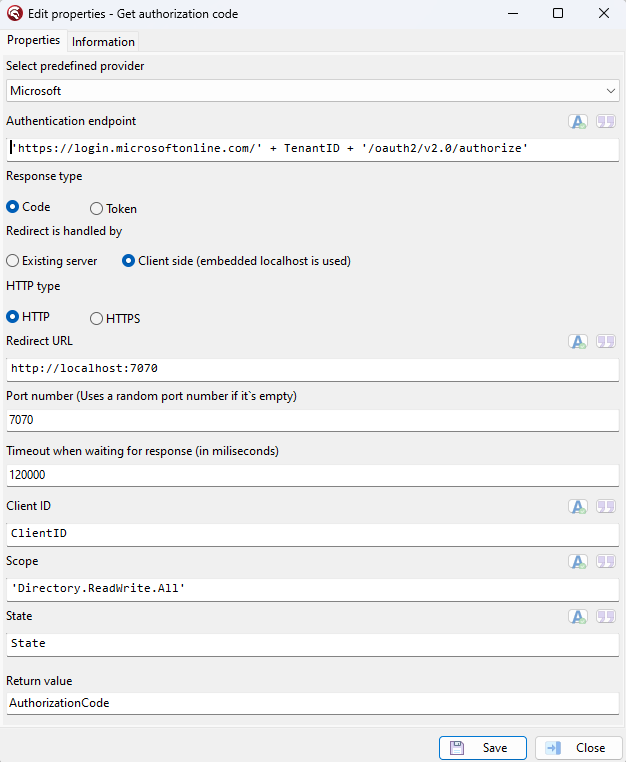
The component has quite a few options, let's go over them one by one
- Description
Used to set a description in the activity
- Predefined provider
There are some predefined providers added to the component, for example Microsoft. Selecting one of the providers fills the authentication endpoint with the usual endpoint.
E.g. for microsoft this is 'https://login.microsoftonline.com/{tenant}/oauth2/v2.0/authorize' the only thing you need to replace is the tenant id in this case. Keep in mind that Codolex generates code, so any hardcoded sensitive information added here, is also added to the resulting code.
- Authentication endpoint
this is the endpoint that is going to be called when authentication is started. Check with your provider what the URL needs to be. Or select one of the predefined providers, and add the missing information.
- Response type
The option if the authorization endpoint should return a code, or a token.
This defines how the result should be handeld, so lets go over both options quickly.
Code:
The code is the first step in authentication. The Endpoint will send a code to the redirect url. This code must be send to a second URL with the REST Activity to retrieve a token.
Token:
This retrieves a token directly, this token can be used in the calls to retrieve or send information.
- Redirect is handled by:
This defines how the code should be received.
If Existing server is selected, Codolex assumes the result wil be send to the given Redirect url, and no further handling of the authentication should be done in this activity. There is no result value in this case.
If Client side is selected, Codolex will start a server on the localhost which waits for the code/token result before going on with the rest of the activities in the flow. The result value will be the code if the authentication was successful.
- Redirect URL
The redirect url is the url where the code/token will be send to. If Existing sever is selected for handling, the url can be filled in and should be available and able to handle the result code. If Client side is selected the redirect is always the localhost and cannot be changed, except for the port.
The result code is usualy send as a parameter, so the call to expect can look something like this:
'https://Localhost:7070?code=12345abcd'
This URL must be configured at the provider
- Http type
Only available when Client side is selected. This provides the option to use a secured local server. Some providers only redirect to a Https url for security reasons. When Https is selected. 3 new input fields are shown.
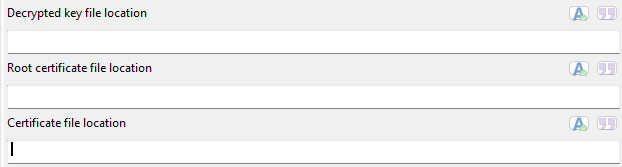
This allows to provide a certificate and a key to the activity to start a local server for the redirect URL.
See https://www.openssl.org/ for more information about ssl.
- Port
Only available when Client side is selected. This defines the port of the redirect url where the provider can send the code to.
- Timeout
Only available when Client side is selected. This defines how long the activity should wait (in milliseconds) for the response. Don't make this number to low, given that the user needs some time to log-in in most cases.
- Scope
Some providers need a scope when requesting a code, the scopes determines what rights the user has with the resulting code/token. This scope also needs to be given in the configuration for the provider in most cases.
- State
The state can be used to pass extra information to the request, which then gets passed to the redirect url. This can be used when multiple calls come through at the redirect url, and some extra information is needed to find the caller for example. Another example is pagination.
The state is not required.